Steering Actuation & Control
Navigation
Send Us A Message
Finding fluid leaks in hydraulic power steering systems
Author
Date Published
Reading Time
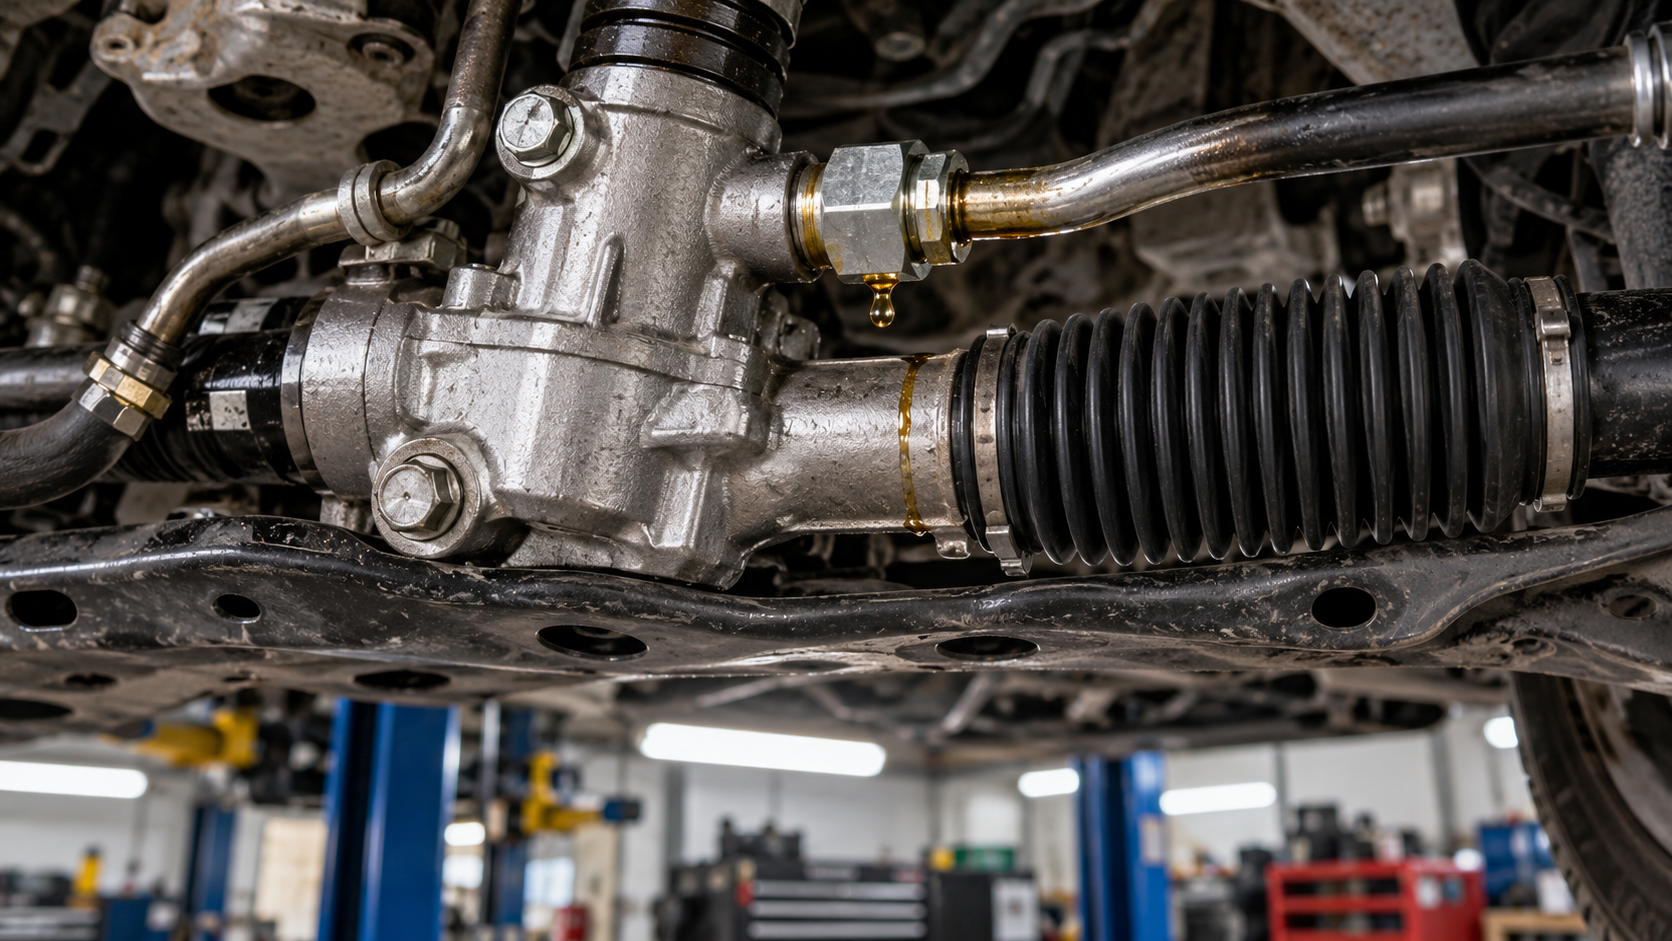
A wet steering rack does not automatically mean the rack needs replacing. Fluid from a reservoir, hose connection, or pump can travel along pipes and collect on a lower component before dripping. In hydraulic power steering systems, the most reliable diagnosis comes from cleaning the affected area and finding where fresh fluid first appears.
A low reservoir, steering whine, or oily patch gives you a starting point, but none identifies the failed part on its own. Establish which fluid is escaping, inspect the system under the conditions that produce the leak, and connect the evidence to a specific seal, hose, fitting, or housing before ordering parts.
Confirm the fluid and the system layout
Identify the steering system before starting. Conventional hydraulic steering uses an engine-driven pump; electrohydraulic steering uses an electric pump and still has hydraulic lines and fluid. Fully electric power steering has no hydraulic steering circuit, so a nearby fluid leak must come from another system.
Use the vehicle’s specified fluid and level-check procedure. Some systems use a particular automatic transmission fluid, while others require a dedicated hydraulic fluid. Color alone cannot establish compatibility: service history, contamination, and aging can change its appearance. Adding a generic fluid can create another problem while leaving the original leak unresolved.
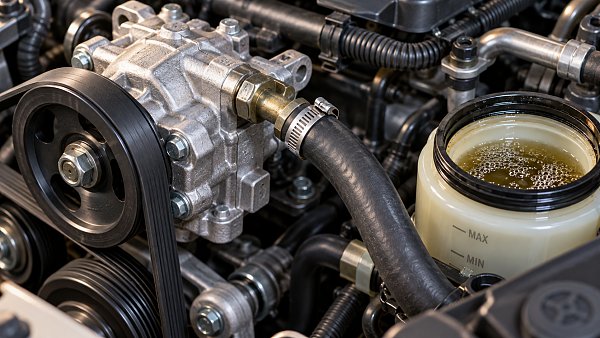
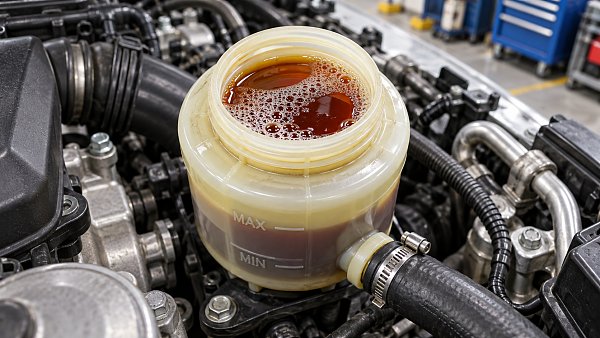
Check the reservoir under the temperature and operating conditions specified for that vehicle. An overfilled reservoir can discharge fluid through its vent, especially when aeration causes the level to rise. Fluid around the cap therefore calls for a level and aeration check before a reservoir replacement.
Compare the suspected leak with other nearby fluids. Engine oil, transmission fluid, and hydraulic steering fluid can look similar after collecting road dirt. Trace the wetness toward its source rather than identifying it from a stain on the floor. Undertrays can hold fluid and release it well away from the leak.
Make the inspection safe before running the system
Begin with the engine off and components cool enough to inspect. Wear eye protection, support the vehicle on suitable lifting equipment, and keep fluid away from hot exhaust parts. If leakage has contaminated a belt, tire, brake component, or hot surface, address that condition before continuing with an operating test.
Never use fingers to search for a hydraulic pressure leak. A fine jet can penetrate skin even when the opening is difficult to see. Use a lamp, mirror, or remotely positioned camera from a safe location. Suspected fluid-injection injuries require immediate emergency medical attention, even if the visible wound is small.
Keep tools, clothing, and inspection materials clear of belts, pulleys, fans, and steering linkages. Electrohydraulic pumps may operate independently of the engine, so follow the vehicle’s shutdown and pressure-release procedure before disconnecting a line. Never loosen a fitting to look for a leak while the system is pressurized.
If the reservoir is empty, fluid is escaping rapidly, or steering assistance is unreliable, stop the running test. Repeatedly operating a pump with insufficient fluid can turn a hose repair into a pump replacement.
Clean the area and watch where fresh fluid begins
Inspect the system as found before cleaning it. Photograph wet areas and note whether fluid is concentrated around a connection, spread behind a pulley, or running down from above. These patterns help preserve useful evidence that cleaning would otherwise remove.
Clean accessible surfaces with a product compatible with the surrounding rubber, plastics, and electrical components, then dry them. Avoid forcing contamination into connectors, reservoir vents, or protective boots. Remove undertrays when needed to expose the actual route of the fluid.
Follow the hydraulic circuit: reservoir, pump supply hose, pump, pressure line, steering gear, and return circuit. Include any cooler and its connections. Inspect from higher components downward, while remembering that airflow and rotating parts can carry fluid sideways or upward.
A practical inspection sequence is:
- Check with the system off. Look for gravity-fed seepage at the reservoir, supply hose, clamps, and low-mounted connections.
- Run at idle if fluid level and component condition permit. Watch accessible areas from a safe position for new wetness.
- Apply controlled steering input. Have an assistant turn the wheel through a moderate range while observing suspected locations.
- Reinspect after shutdown. Some leaks become clearer as fluid collects or components cool.
Do not hold the steering against full lock to make a leak appear. This increases hydraulic load and heat. If a particular complaint requires a loaded test, use the vehicle’s service procedure and suitable equipment. Steering with the wheels raised can help circulation and access, but it may not reproduce leakage that occurs under normal tire load.
Read the evidence at each likely leak point
Reservoir and pump supply hose
Inspect reservoir seams, hose outlets, cap seals, and any reservoir-to-pump connection. A cracked outlet or hardened sealing ring may produce a slow leak that spreads across the pump housing, making the pump itself look defective.
The pump supply hose deserves attention when noise and foaming accompany only minor external wetness. Because this section operates under suction while the pump runs, a loose connection or damaged hose can admit air without producing an obvious outward leak. Aerated fluid can cause whining and an unstable reservoir level.
Check hose condition, clamp placement, and connection fit. Tightening a clamp excessively can damage an aged plastic outlet. A softened, swollen, cracked, or poorly fitting hose needs correction at the component level.
Pressure hoses, crimps, and fittings
Inspect the entire pressure line, including bends, mounting brackets, crimped joints, and sections hidden behind shields. Look for abrasion, corrosion, wet crimps, and contact with adjacent parts. A hose that leaks only during steering input may appear dry during a brief idle inspection.
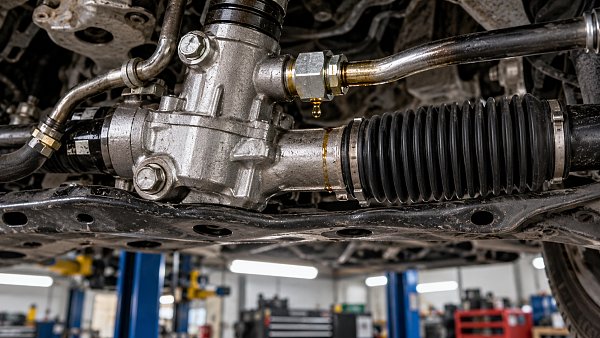
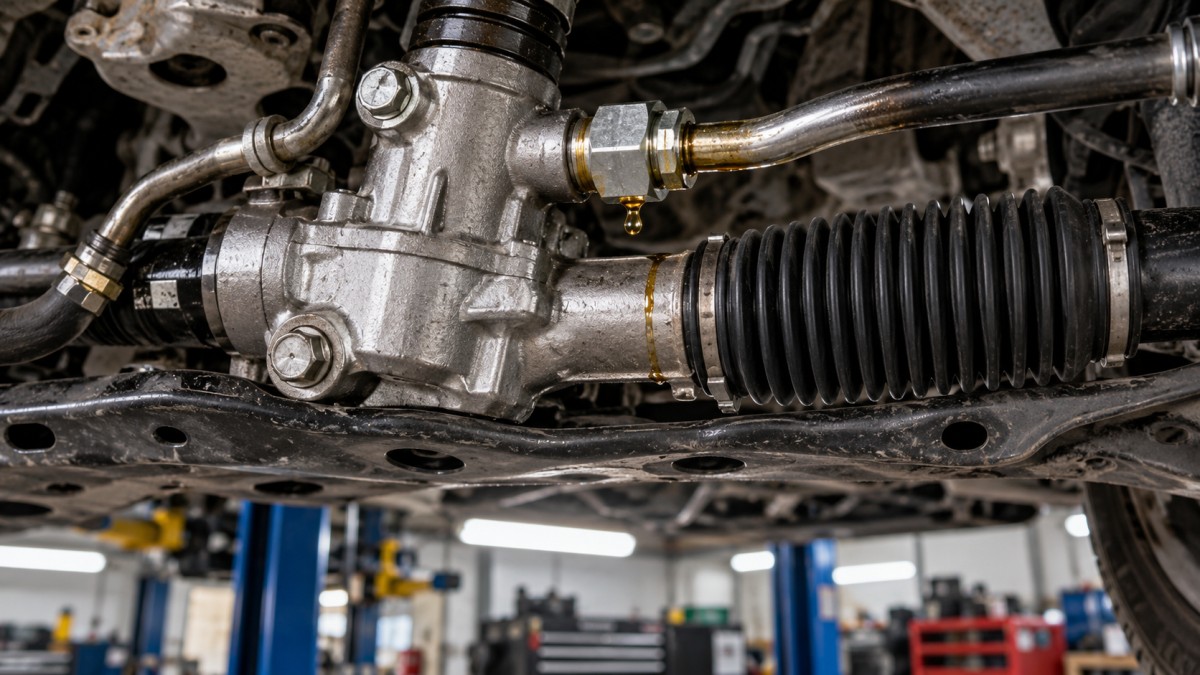
At a fitting, distinguish leakage through the connection from fluid tracking down the pipe. Depending on the design, the connection may seal through an O-ring, sealing washer, or formed seat. Extra tightening will not reliably repair a damaged seal or distorted seat and can damage the receiving housing.
Pressure lines require the correct assembly for the application. Routing, end fittings, brackets, and any integrated damping features affect fit and operation. Replacing a failed section with ordinary fluid hose and worm-drive clamps is not an acceptable pressure-line repair.
Pump shaft seal and housing
Fluid behind the pump pulley, especially with an outward spray pattern, suggests a shaft-seal leak. Confirm that the fluid originates there: a reservoir or hose leak above the pump can produce a similar wet area.
Assess noise, pulley alignment, shaft play, mounting condition, and possible inlet restriction before deciding whether a seal repair is appropriate. A new seal may leak again if shaft wear or bearing movement caused the original failure. Some pumps are serviceable at seal level; others are better addressed through an approved replacement assembly.
Steering rack boots and steering gear seals
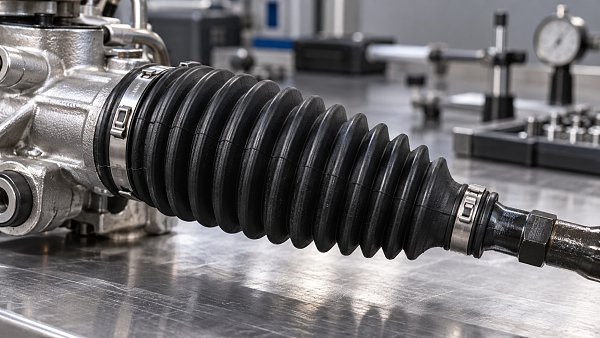
A rack boot protects the rack and inner tie rod from contamination; it is not intended to contain hydraulic fluid. Confirmed power steering fluid inside the boot strongly indicates an internal rack sealing problem. Replacing the boot alone leaves that failure unresolved.
External wetness on a boot is less conclusive. A nearby line connection may be leaking onto it. Inspect the rack ports, pipework, and pinion area before opening the boot according to the service procedure. Some racks have a connection between the bellows, allowing leaked fluid to migrate, so the wetter side does not necessarily identify the failed internal seal.
For vehicles using a steering box, inspect the input and output shaft seals, housing joints, and hose ports. As with a rack, distinguish a housing seal leak from fluid arriving from an adjacent connection.
Return lines and coolers
The return circuit operates at lower pressure than the pump outlet, but its leaks can still empty the reservoir. Inspect corroded metal pipes, cooler joints, flexible sections, and retaining clips. Road debris and rubbing against brackets can damage lines far from the pump.
When replacing a flexible return section, use hose specified for the fluid, temperature, and application. Match the required shape and internal diameter; a kinked or restricted return path can create further operating problems.
When cleaning alone does not reveal the leak
For a slow or intermittent leak, a compatible fluorescent dye can make fresh fluid easier to trace. Use only dye approved for the hydraulic fluid and system, in the specified quantity. Clean existing residue first, circulate the fluid under appropriate conditions, and inspect with the matching lamp.
Dye is particularly useful around crowded pump installations and concealed pipe routes. It still requires interpretation: a glowing patch at the bottom of the rack shows where fluid collected, not necessarily where it escaped. Trace the fluorescent path back to its first visible origin.
If leakage appears only after driving, document the conditions: cold start, parking maneuvers, sustained operation, or shutdown after warming. Reproduce the relevant condition without allowing the reservoir to run low. Heat can change hose flexibility and sealing behavior, while steering load can expose a leak absent at idle.
Pressure testing is appropriate when the diagnosis also involves weak assistance, suspected restriction, or abnormal pump operation. It is not necessary for every visible seep. Use vehicle-specific procedures and correctly rated adapters and gauges; improvised connections or incorrect valve operation can create a hazardous pressure condition.
Choose the repair from the cause, then verify it
The repair decision should identify both the leaking part and the reason it failed. A hose worn through by contact needs its routing or support corrected. A leaking connection needs inspection of the seal and mating surfaces. Repeated leakage after replacement calls for a check of fitment, installation damage, restriction, and component condition.
Check replacement parts against the vehicle application, including steering configuration, connection design, mounting points, and hose routing. Similar appearance does not guarantee interchangeability. Keep opened lines clean and capped, install specified new seals, and follow the tightening procedure for each connection.
Stop-leak additives are a poor substitute for locating a mechanical fault. They cannot repair a cracked pipe, damaged hose reinforcement, or worn shaft. Introducing an unspecified additive also complicates fluid compatibility and any later repair.
After repair, refill with the specified fluid and perform the prescribed bleeding procedure. Watch for foam, an unstable level, persistent whine, or uneven assistance. These symptoms may indicate remaining air, an inlet leak, a restriction, or damage that needs separate diagnosis; they do not automatically prove the replacement part is faulty.
Clean the repaired area again, check it at rest and under appropriate steering load, and complete a road test when the vehicle is safe to operate. Recheck the level using the required temperature conditions and inspect for fresh wetness. A repair is ready to close when the original leak-producing condition has been repeated without renewed leakage and steering assistance remains consistent.
Core Sector // 01
Recommended News
 Steering Actuation & ControlWhy Does a Steering Universal Joint Bind Only at High Temperatures?Why does a steering universal joint bind only at high temperatures? Discover heat-related causes, hot-versus-cold diagnostic checks, and repair insights to pinpoint the fault and avoid guesswork.
 Steering Actuation & ControlAre Rubber Steering Couplings Suitable Near High-Temperature Components?Are rubber steering couplings suitable near high-temperature components? Discover how heat exposure, material choice, shielding, and validation guide safer, more reliable selection.
 Steering Actuation & ControlWhy Do Steering Rack Boots Crack Before Their Specified Service Life?Why are steering rack boots cracking before the specified service life? Discover how aging, fitment errors, and chemical exposure cause early failure—and how to prevent it.
 Steering Actuation & ControlWhen does a steering angle sensor need calibration after alignment?When do Steering Angle Sensors need calibration after alignment? Discover key triggers, manufacturer requirements, and verification steps to avoid unnecessary resets and get the job done right.
 Steering Actuation & ControlHow to tell if a power steering pump is failing or drawing in airPower Steering Pumps whining or losing assist? Learn how to spot air leaks, check fluid, and test pump output to avoid unnecessary replacement and make a confident repair decision.
 Steering Actuation & ControlWhat causes power steering fluid to foam after a fluid change?Power Steering Fluid foaming after a change? Discover common causes, safe bleeding tips, and diagnostic steps to restore smooth steering and avoid unnecessary pump replacement.
 Steering Actuation & ControlFinding fluid leaks in hydraulic power steering systemsPower Steering Systems leak diagnosis made clear: learn to trace fluid leaks, identify faulty hoses and seals, and avoid unnecessary replacements with practical inspection tips.
 Steering Actuation & ControlEvaluating steering actuator redundancy for steer-by-wire systemsSteering Actuators for steer-by-wire need more than dual motors. Learn how to assess fault isolation, residual performance, and validation evidence to make safer selection decisions.