Steering Actuation & Control
Navigation
Send Us A Message
What causes power steering fluid to foam after a fluid change?
Author
Date Published
Reading Time
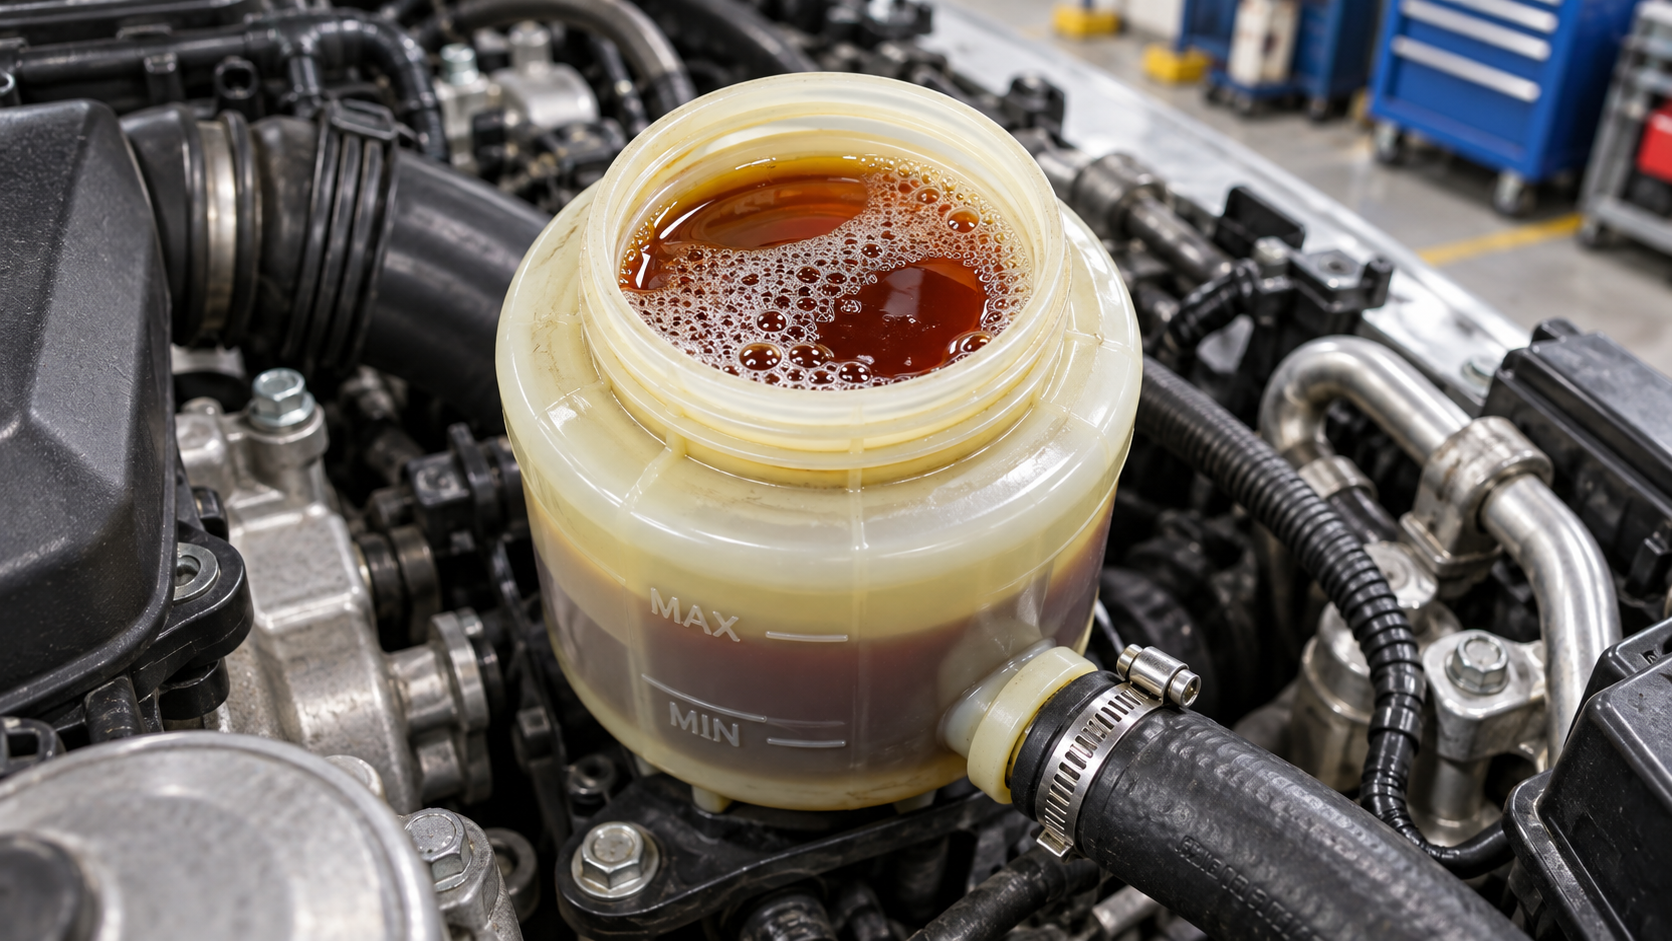
What causes power steering fluid to foam after a fluid change?
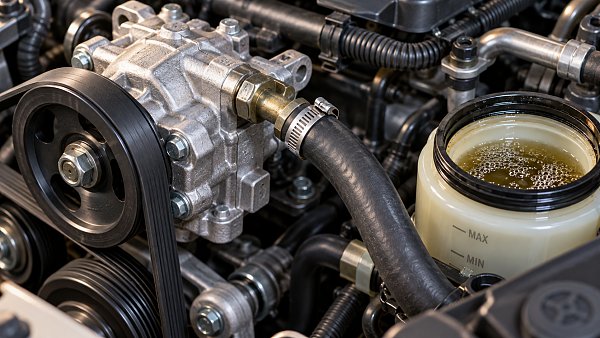
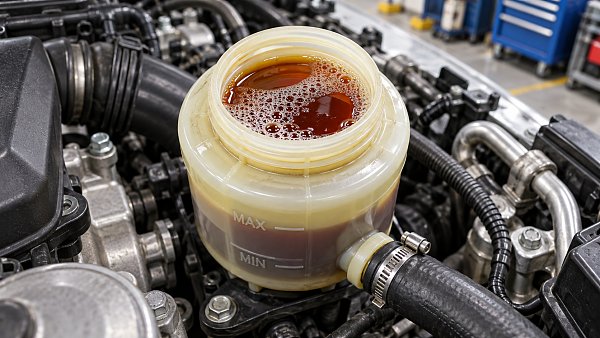
Foamy power steering fluid after a fluid change usually points to trapped air, but incomplete bleeding is not the only possible cause. Low fluid levels, suction-side leaks, an incorrect fluid specification, or restricted reservoir flow can also contribute to aeration and pump noise. Identifying the source before replacing components helps prevent repeat repairs and unnecessary costs.
The useful distinction is whether residual air is leaving the system or fresh air is entering continuously. A few bubbles that diminish during the correct bleeding procedure suggest the former. Foam that returns whenever the pump runs requires further investigation—not simply more steering cycles.
Read the symptoms before condemning the pump
Aeration occurs when air becomes mixed into the hydraulic fluid. Because air compresses much more readily than the liquid, the mixture can produce fluctuating assistance, pump whine, vibration, and an unstable reservoir level. A pump operating with aerated fluid may sound defective even when its internal components are serviceable.
Cavitation is related but different: vapor cavities form when local pressure falls sufficiently low, often because the pump inlet is restricted. Both conditions can create noise, and they can occur together. Visible reservoir foam alone does not prove cavitation or establish that the pump needs replacement.
Watch how the fluid changes after shutdown. Entrained air often clears as bubbles rise and escape. Cloudiness that persists after a suitable settling period raises concern about water contamination or incompatible fluids, although appearance alone cannot identify the contaminant. Compare a sample in a clean, fluid-compatible transparent container with unused fluid of the correct specification.
Do not continue driving with intermittent or unexpectedly heavy steering. Keep diagnosis controlled, and stop pump operation if the reservoir empties, fluid overflows, or noise becomes severe. Continued operation can turn a bleeding problem into component damage.
The common causes—and what separates them
Residual air from draining or incomplete bleeding
A fluid exchange can leave air in the pump, steering gear, hoses, or cooler. The risk increases if the reservoir ran dry during flushing or if a hose, pump, or rack was replaced. Filling the reservoir restores its level; it does not necessarily fill every internal passage.
Residual air should progressively decrease when the manufacturer’s bleeding procedure is followed. If repeated attempts produce no improvement, stop assuming the system only needs more time. Review fluid supply, connections, and the procedure itself.
Incorrect fluid level
A low level can expose the reservoir outlet or allow a vortex to draw air into the pump supply. This may happen during bleeding as previously empty passages fill. An overfilled reservoir can overflow as fluid warms or entrained air expands; on some designs, it can also disrupt normal reservoir behavior.
Check the specified hot or cold range and the required engine state. Do not top up to a reading distorted by foam. Let the fluid settle, then reassess under the prescribed conditions.
A suction-side leak that leaves no puddle
The reservoir-to-pump supply path deserves close attention. Depending on system layout and operating conditions, pressure inside this path can fall below atmospheric pressure. A loose clamp, hardened O-ring, cracked hose, or poorly seated connection may then admit air without producing an obvious external fluid leak.
Inspect connections disturbed during the service first. A reused seal or hose fitted under tension is a stronger immediate lead than an unrelated steering-rack fault. Check the underside of hoses, sealing surfaces, clamp placement, and replacement-part fitment—not just whether everything looks dry.
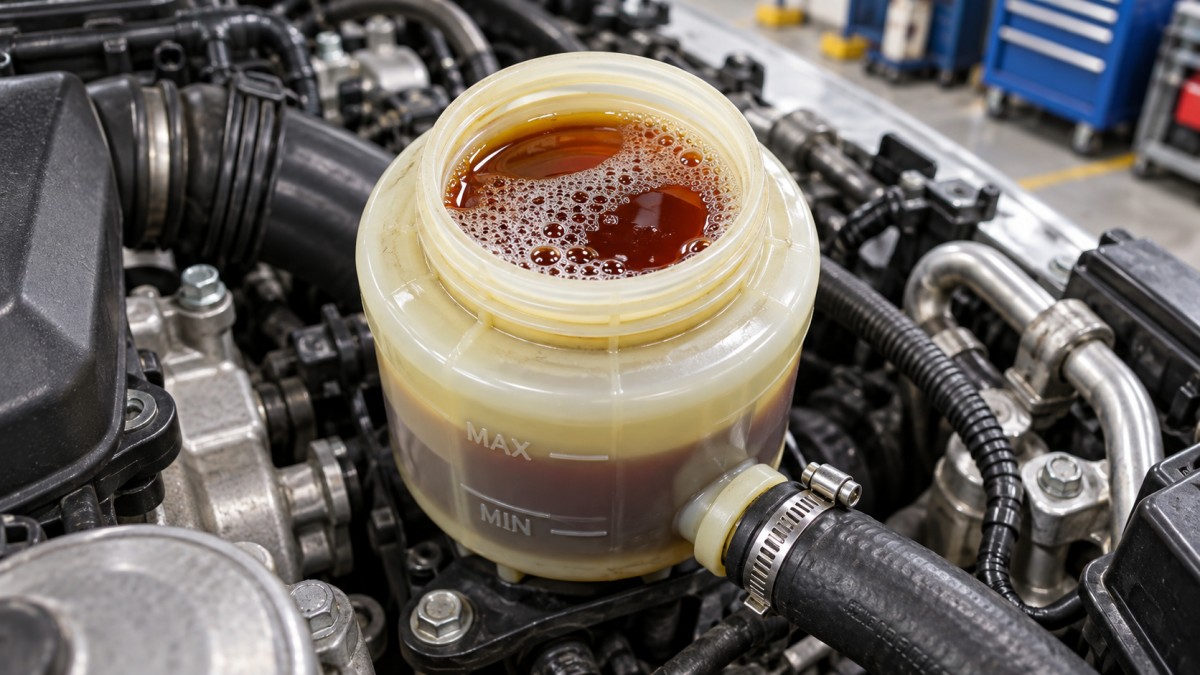
Wrong fluid or contamination
“Power steering fluid” is not a single interchangeable specification. Some applications require a particular automatic transmission fluid; others use dedicated hydraulic fluids. Viscosity, seal compatibility, air-release behavior, and foam control must suit the application.
Verify the exact requirement using current vehicle service information. Fluid color is not a specification, and a broad compatibility claim should not replace application verification. Mixing incompatible fluids or introducing cleaning residue can alter performance. If the wrong fluid was used, follow the approved correction procedure rather than adding an aftermarket anti-foam treatment.
Restricted supply flow or disturbed reservoir internals
A restricted reservoir screen, kinked supply hose, internally deteriorated hose, or unsuitable replacement reservoir can limit pump inlet flow. A hose may look acceptable externally yet collapse under suction. Symptoms that worsen as pump speed rises justify checking this path, although speed-related noise is not conclusive by itself.
Reservoir baffles and return-flow arrangements help separate air before fluid reaches the outlet. Damage or an incorrect reservoir configuration can encourage recirculation of aerated fluid. Where a filter is integral and not serviceable, follow the manufacturer’s replacement guidance rather than attempting an improvised cleaning method.
A practical diagnostic sequence after a fluid change
Start with what changed during the job. Record whether the symptom existed beforehand, which lines were disconnected, whether the reservoir emptied, and exactly which fluid was installed. These details usually narrow the search more effectively than immediately testing every component.
- Confirm the architecture. Conventional hydraulic steering and electrohydraulic steering use fluid, but their operating and bleeding instructions may differ. Fully electric power steering has no hydraulic steering-fluid circuit.
- Verify the service materials. Check the fluid specification, replacement reservoir or hose application, and any required new seals. Review model-specific service bulletins where available.
- Inspect with the system safely stopped. Check level after settling, hose routing, connections, reservoir condition, and signs of contamination. Keep dirt out of open connections.
- Bleed using the prescribed method. Observe whether bubbles diminish or return whenever the pump operates. Persistent recurrence shifts attention toward air ingress, supply restriction, or fluid incompatibility.
- Escalate to measurements when needed. Use application-approved inlet restriction, pressure, or flow tests rather than diagnosing pump condition from sound alone. Hydraulic test equipment must have suitable pressure ratings.
Avoid disconnecting a pressurized line to “see whether fluid flows.” Steering hydraulic systems can produce hazardous pressure. Shut down and depressurize as specified before opening the circuit, and keep hands clear of belts, fans, and moving steering components.
Bleeding correctly without making the foam worse
There is no universal steering-wheel cycle count, vacuum setting, or engine-running sequence. Some vehicles use initial steering movement with the engine off; others require vacuum-assisted bleeding or a defined electrohydraulic pump routine. The current workshop procedure takes priority over a generic technique.
Where the procedure calls for raised front wheels, support the vehicle at approved lifting points with suitable equipment. Move the steering slowly through the specified range, maintaining the correct fluid level. Rapid movement can agitate the fluid and make progress harder to judge.
Do not hold the steering against full lock. This loads the hydraulic circuit and generates heat. If the procedure requires reaching an end position, follow its limits and move away promptly.
If dense foam develops, stop and allow it to dissipate before continuing. Running the pump faster to clear bubbles can worsen aeration. Vacuum bleeding, when specified, requires the correct reservoir adapter and controlled vacuum; it should not be improvised with arbitrary settings. Difficulty holding vacuum warrants checking both the test setup and the system for leakage.
On electrohydraulic systems, do not assume that switching the engine off prevents pump operation. Follow the specified ignition, power-isolation, and diagnostic-tool instructions before service.
When replacement is justified—and when it is not
A noisy pump immediately after a fluid change is not sufficient evidence for replacement. First establish that the inlet receives an unrestricted supply of correct, substantially air-free fluid. A replacement pump connected to the same leaking supply hose or restricted reservoir may reproduce the complaint.
Pump damage becomes more plausible when noise or poor assistance remains after those conditions are corrected, particularly if specified pressure or flow tests indicate a fault. Metallic debris or evidence of internal damage calls for a broader contamination assessment, not simply another fluid exchange. Cleaning and component replacement decisions must follow the application’s service guidance.
This system-level approach reflects how Global Automotive Systems & Components Portal (GASC) examines steering reliability: pump performance depends on fluid, hoses, reservoir design, sealing, and service practice together. For repeat workshop complaints, recording part revisions and fluid specifications is more useful than treating every noisy pump as an isolated failure.
Verify the repair before returning the vehicle
A clear reservoir at idle is encouraging, but it is not the whole acceptance check. Confirm stable assistance through the approved operating checks, no recurring foam, no abnormal noise, and no leakage. Recheck the level at the specified temperature and operating state after the system has settled.
Conduct a road test only after predictable assistance has been restored. Document the fluid specification, repaired connections, bleeding method, and final observations. If foaming returns after apparently successful bleeding, investigate where air can enter or supply flow can become restricted before repeating the same procedure or ordering another pump.
Core Sector // 01
Recommended News
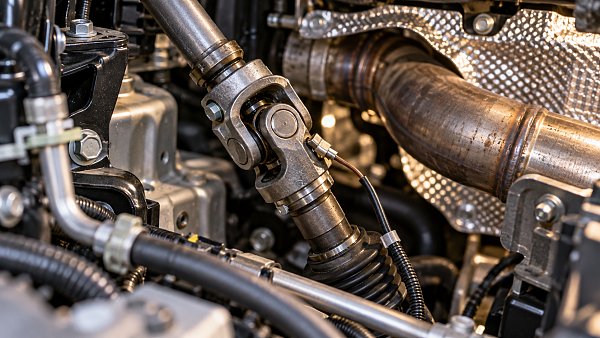
 Steering Actuation & ControlWhy Does a Steering Universal Joint Bind Only at High Temperatures?Why does a steering universal joint bind only at high temperatures? Discover heat-related causes, hot-versus-cold diagnostic checks, and repair insights to pinpoint the fault and avoid guesswork.
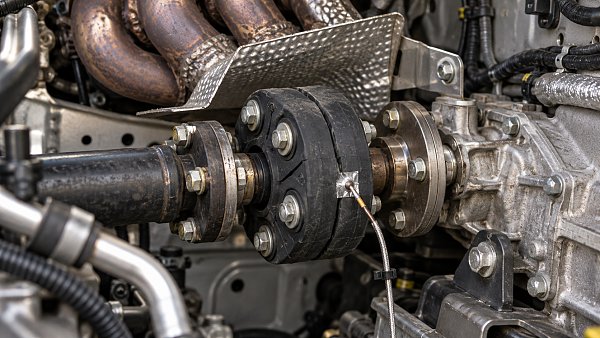
 Steering Actuation & ControlAre Rubber Steering Couplings Suitable Near High-Temperature Components?Are rubber steering couplings suitable near high-temperature components? Discover how heat exposure, material choice, shielding, and validation guide safer, more reliable selection.
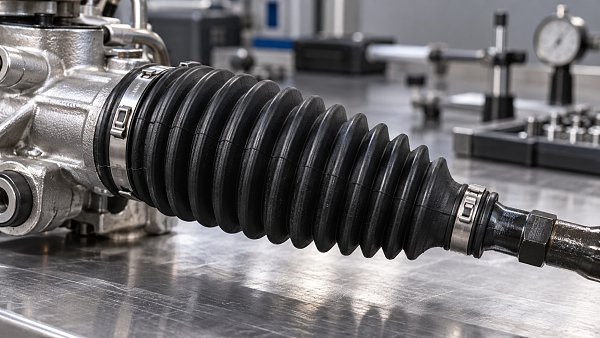
 Steering Actuation & ControlWhy Do Steering Rack Boots Crack Before Their Specified Service Life?Why are steering rack boots cracking before the specified service life? Discover how aging, fitment errors, and chemical exposure cause early failure—and how to prevent it.
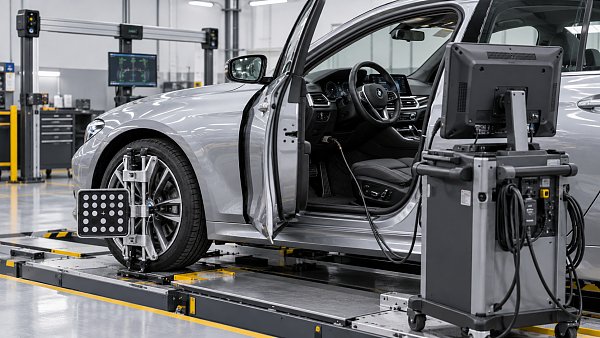
 Steering Actuation & ControlWhen does a steering angle sensor need calibration after alignment?When do Steering Angle Sensors need calibration after alignment? Discover key triggers, manufacturer requirements, and verification steps to avoid unnecessary resets and get the job done right.
 Steering Actuation & ControlHow to tell if a power steering pump is failing or drawing in airPower Steering Pumps whining or losing assist? Learn how to spot air leaks, check fluid, and test pump output to avoid unnecessary replacement and make a confident repair decision.
 Steering Actuation & ControlWhat causes power steering fluid to foam after a fluid change?Power Steering Fluid foaming after a change? Discover common causes, safe bleeding tips, and diagnostic steps to restore smooth steering and avoid unnecessary pump replacement.
 Steering Actuation & ControlFinding fluid leaks in hydraulic power steering systemsPower Steering Systems leak diagnosis made clear: learn to trace fluid leaks, identify faulty hoses and seals, and avoid unnecessary replacements with practical inspection tips.
 Steering Actuation & ControlEvaluating steering actuator redundancy for steer-by-wire systemsSteering Actuators for steer-by-wire need more than dual motors. Learn how to assess fault isolation, residual performance, and validation evidence to make safer selection decisions.